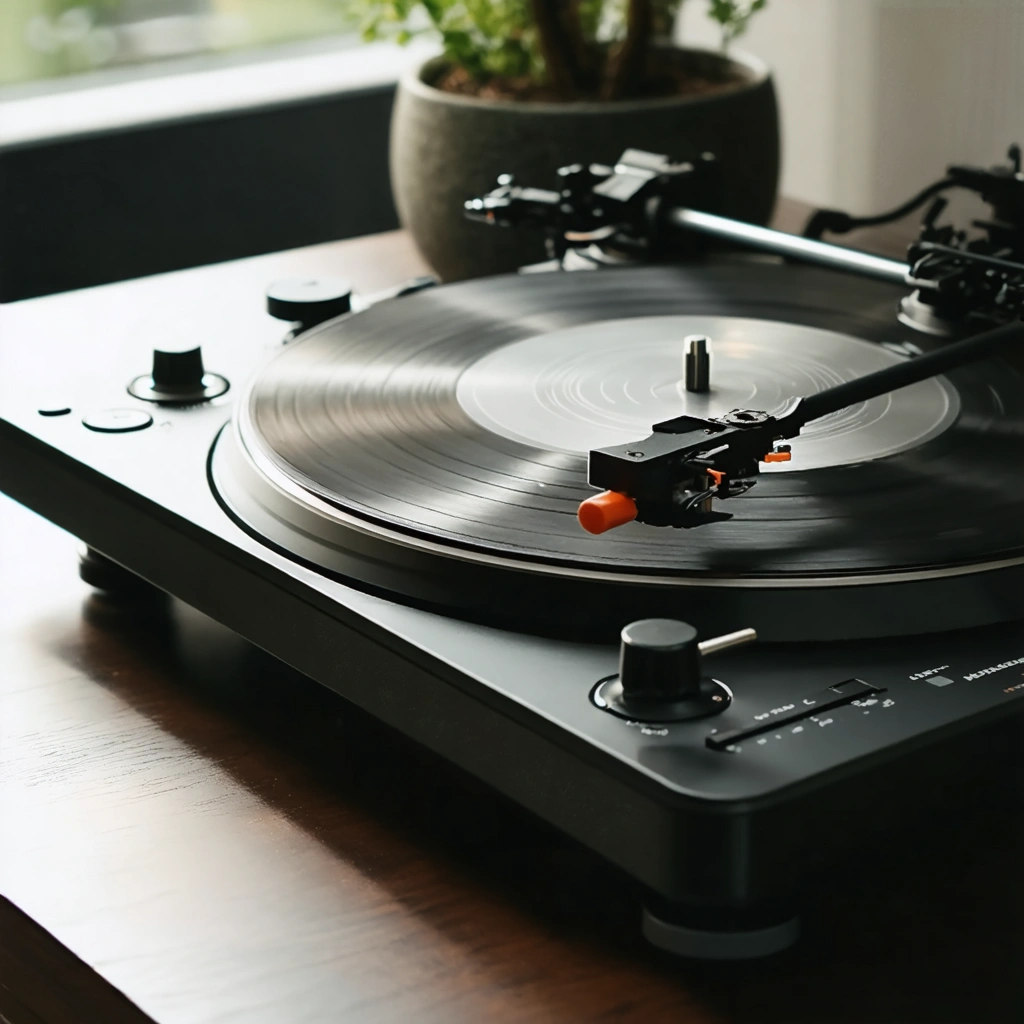
You’ve just made an impulse buy after doing a little crate digging at your local record store. Despite your new find’s rad cover, the disc has seen better days. The lack of an inner jacket tells you that the grooves on this wax are probably caked in dust and grime. As a true vinyl junkie, you’re not opposed to hearing a few audible snaps, crackles, and pops during your listening sessions. However, if your needle could talk, it probably wouldn’t share your sentiment. In a node to your hard-sought equipment, you decide to freshen up your new LP. That’s when it dawns on you. You have no idea how to clean vinyl records.
As an avid digger, I tend to romanticize dust-covered wax. Still, I am far too vested in my collection to just standby and watch it succumb to dust mites. During record fair season, I pack up a crate of my heaviest rotators and bring them to a vendor with an industrial-strength record-cleaning machine. In the interim, I use the following steps to clean my precious pressings:
Enjoy my guide on how to clean vinyl records!
What You Need To Clean Vinyl Records By Hand
Before you find out how to clean vinyl records, you need the right cleaning supplies in your arsenal.
Vinyl Record Brush
Years ago, I would have said that vinyl record brushes were overkill. I couldn’t have been more wrong. These hand-held brushes feature large grippy handles a dust- and the static-eating cleaning surfaces. Gentle carbon fiber bristles strap grooves clean without leaving behind greasy fingerprints and scratches. With the help of your turntable, you can turn your vinyl record brush into a high-powered polishing machine.
If a vinyl cleaning brush doesn’t fit into your budget, check out our tips on how to clean vinyl records with a microfiber or lint-free cotton cloth.
Record Cleaning Solution
Not all diggers agree on what is the best record cleaning solution. However, it’s pretty clear that 90% or higher isopropyl alcohol and distilled water make a great base. Daily Vinyl, a YouTube channel, recommends adding a bit of Ilford Ilfotol, a photo developing agent. Many vinyl junkies use this wetting agent to improve the coverage of their cleaning solution. However, this additive is completely optional.
Most experts recommend using three parts distilled water to one part isopropyl alcohol. Pour the ingredients into a designed spray bottle. Shake the bottle before use to ensure that the ingredients are distributed properly.
There are plenty of clever alternatives to the mixture mentioned above. Some record enthusiasts use even use unscented laundry detergent and dish soaps. Lots of aficionados swear by professional formulas. We like to follow the lead of the professionals when learning how to clean vinyl records.
Microfiber Towel
If you do not have a vinyl record brush or need to remove some stubborn grime, a microfiber cloth is a great option. Be sure to use a lint-free cloth, as you do not want to leave behind any residue. Microfiber cloths are gentle and effective when it comes to removing dust and static charge. There are plenty of microfiber cloths that are geared toward vinyl heads. Don’t overlook the options found in drugstores and supermarkets.

How to Clean Vinyl Records | Step By Step Instructions
Now that you’ve got an arsenal of record cleaning supplies, it’s time to remove the less savory remnants of time. Below, you’ll find six easy steps on how to clean vinyl records at home.
Step 1. Remove Dust and Static Using a Record Brush
Remove the dust cover, inner sleeve, and outer sleeve from your record. Take a minute to inspect the surface. After all, you’ll want all the before and after satisfaction you can get. Place the record on your turntable. Crank up the RPMs, but do not drop the needle. Spray your vinyl record brush with a bit of record cleaning solution. Apply it to the surface of the inner grooves using gentle pressure. As the record rotates, gently slide the brush over the outer grooves, Repeat this until there is no dust left on the surface of the record.
While it may be tempting to press down on the record, excess pressure forces dust and grime deeper into the grooves, making them sustainably more difficult to remove. Furthermore, take care to only touch the handle of the brush. Touching your freshly cleaned vinyl record is akin to walking on a just-mopped floor. Don’t do it. One or two rounds may be all it takes to freshen up a vintage disc.
Remember, your brush bristles should always be perpendicular to the grooves.
Lastly, take the time to remove excess buildup from your record cleaning brush. With vintage finds, a few gentle strokes may be all it takes to exceed a brush’s dust capacity.
If you find this method to be unsavory, feel free to perform the same soft sweeping movements without the spinning plate.
Step 2. Inspect the Record for Scratches and Marks
Take a moment to inspect both sides of the record for scratches and marks. If there is any remaining dust or dirt on the surface, then give step one another go around. Unfortunately, scratches cannot be repaired. They’re inevitably permanent scars of mishandling and years of use. Pick your record up by pressing the flat sides of your fingers up against both sides. Your fingers should be perpendicular to the record’s edge. This grip minimizes your chance of getting fingerprints on the playable surface.
Hold the record in the horizontal position under a bright overhead light. Gently pivot the record in a circular motion. The light should jump from one raised side to the next, illuminating even the slightest surface imperfections.
Step 3. Spray Cleaning Solution on the Dirtiest Areas
Are you still to find a way to clean those stubborn areas? You may need to spray those problem areas with a little extra cleaning solution. Let the solution soak in before using a microfiber cloth or cleaning brush to wipe away any deep dirt. Repeat the process until you notice a significant improvement.
Inexperienced spinners sometimes lose patience with their most stubborn and filthy vinyl records. We advise you to remain calm and avoid any caustic and abrasive cleaning alternatives!
Step 4. Wipe Clean
Toss that used microfiber cloth to the side. Now, get a fresh one. At this point, you need to wipe your record down with a dry cloth. This will help neutralize any static electricity that built up during the cleaning process. A few extra swipes will also help you to remove any oily fingerprints and leftover dust bunnies.
Step 5. Rinse and Dry the Record
You read that right! It’s now time to rinse and dry your vinyl. Use a designated spray bottle or (if you dare) your kitchen faucet to carefully rinse off any lingering cleaning solution. Check out VHFSE Vintage Hi-Fi and Stereo Equipment’s video tutorial https://www.youtube.com/watch?v=Ydr6kLWwnrY for an excellent example of how to rinse a vinyl record. Do your best to keep that precious label dry.
Step 6. Store Your Records Properly
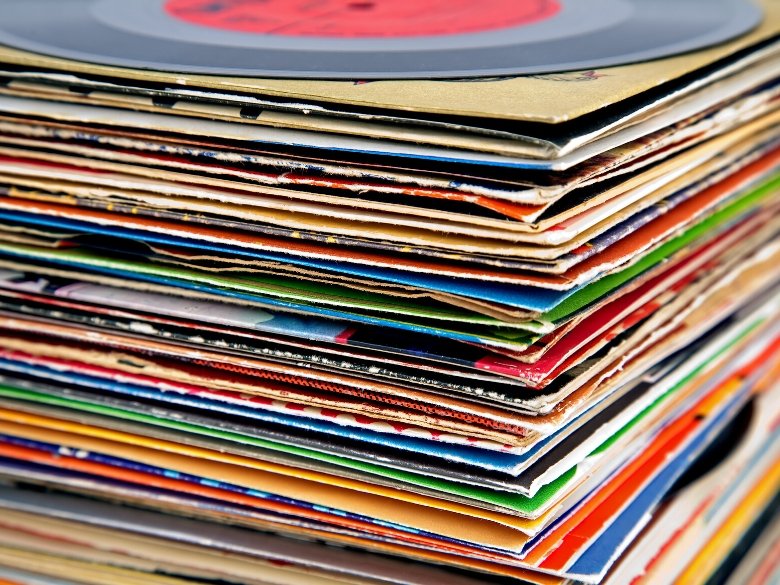
First off, it’s important to always store your records in a cool, dark area. Vinyl is a heat-sensitive material. If it’s left in a sunny, hot window, it will melt and warp. Once you find an optimal spot for your rare gems, choose a fitting container. Records come in two sizes. LPs are 12-by-12 inches. Meanwhile, 45s are 7-by-7 inches. You’ll need a durable container with nearly identical dimensions, flat sides, and sharp corners.
A quick online search will reveal a seemingly endless list of vinyl record shelves and crates. If you’re handy, you may also opt to make your own with one of the many DIY tutorials available online. Some collectors even use old 12-by-12 milk crates or wine boxes to store or transport their LPs.
If you’re on the hunt for a visual illustration of how to clean vinyl records,Long Play Vinyl offers viewers some excellent suggestions on how to store vinyl records. As you can see in the video, all of the host’s records are stored in a vertical position in a cool, shaded area.
As a reminder, records should always be stored in a protective inner sleeve, a cardboard jacket, and a plastic dust cover. Don’t worry if that vintage find was lacking an insert or cover. You can purchase bulk replacements from local and online record dealers.

How to Clean Vinyl Records | Commonly Asked Questions
What can I use to clean vinyl records?
Most record enthusiasts swear by a basic cleaning solution made of 99% isopropyl alcohol and distilled water. There are plenty of alcohol skeptics who claim that alcohol will eventually damage the protective lacquer.
Is it OK to clean vinyl records with alcohol?
The recording community often looks to professional preservation experts for guidance on conserving their aging audio materials. With a three-million item sound collection, the Library of Congress uses a mixture of water and 5% Tergitol™ 15-S-7 to clean their dirty discs. It is a secondary ethoxylated alcohol. Alcohol should not be used on 78s. Check out their tips on how to clean vinyl records.
Can you clean vinyl records with Windex?
Windex is a caustic commercial cleaner made from a long list of chemicals, including ammonia and blue dye. It’s incredibly harsh on vinyl. Moreover, it leaves behind an unpleasant chemical smell. Trust me when I say that you don’t want to risk having any of this solution seep onto your record labels. While some people include Windex in their “How to Clean Vinyl Records” guides, we strongly advise against it.
Is it OK to clean vinyl records with vinegar?
Vinegar is highly acidic. Not to mention, there are several varieties, some of which boast natural sediment and colors. We recommend skipping the salad dressing additives for more sanitary cleaning additives, such as dish soap and isopropyl alcohol.
Can you clean vinyl records with soap and water?
Yes! We recommend that you use a small amount of blue Dawn dish soap and tap water to wash particularly dirty vinyl records. Take care to rinse off all the cleaning solution when you are finished. Leftover dish soap can become a magnet for dust and grime.
How to Clean Vinyl Records | Alternative Methods
How to Clean Vinyl Records With A Vacuum Cleaner
We don’t recommend using your run-of-the-mill home vacuum to suck dust off the surface of your vinyl records. You can purchase record-specific vacuum wands to attach to your home dry or wet vac. Are they effective? They do a decent job of lifting dirt from the grooves. You’ll still need to run your discs over with some cleaning solution, a cleaning brush, and a microfiber cloth. Canned air is a cheap alternative.
How to Clean Your Vinyl Records With A Record Washing Machine
Record washing machines tend to get their fair share of mixed reviews. We’ve tried out several manual and automatic cleaning machines. These little devices serve as a foundation for basic record maintenance. These systems tend to be a bit harsher than handwashing. Nevertheless, the results are reasonably consistent.
How to Clean Vinyl Records with an Ultrasonic Record Cleaner
Ultrasonic record cleaning machines work great, but they’ll trim quite a bit of fat from your budget. Your average audiophile isn’t going to have one of these mechanisms in their dungeon. Like all mechanical devices, there’s a vast spectrum of options. There are plenty of well-performing mid-range options and some hefty yet reliable record-shop mainstays. If you’re looking to go this direction because your vinyl record collection is swelling out of control or you just came into a hefty inheritance, we suggest that you do your due diligence and research some of the more popular offerings before making a final selection.
How to Clean Vinyl Records | Final Thoughts
I hope you enjoyed my guide to cleaning vinyl records. If your records still aren’t working after following this guide, try finding them on a vintage record site. I’ve been collecting LPs and 45s for well over a decade. Still, it is only as of recent that I began adhering to a semi-regular cleaning routine. Join me on the flip side with these simple vinyl record preservation techniques. I guarantee your listening experiences will be better from the needle drop to the dead wax. Drop us a line in the comment section to let us know what you thought about our comprehensive guide. Be sure to share this step with all your friends who desperately need to learn how to clean vinyl records.